Creating smooth and professional-quality animation renders in Source Filmmaker (SFM) can be challenging—especially when dealing with compile settings, lighting, motion blur, and export errors. This ultimate tutorial guides you step-by-step through the entire SFM compile process so you can achieve clean, cinematic results without lag, grain, or broken frames.
Preparing Your Scene for a Clean Compile
Before hitting “Export,” it’s crucial to prepare your scene properly. Good preparation avoids glitches later.
Organize Your Workspace
- Keep your model hierarchy clean.
- Group props and characters into named categories.
- Delete unused models to reduce compile load.
- Save multiple versions of your project.
Lock Your Camera
Smooth renders always start with a locked, stable camera.
- Create a new Animation Set for your camera.
- Right-click the animation channel → Zero Slope to remove jitters.
- Add subtle motion to avoid static shots.
Adjust Lighting Properly
Lighting greatly affects compile quality.
- Use 3–5 lights maximum per scene.
- Disable shadows on lights that don’t require them.
- Keep shadow filter size balanced (2–5 recommended).
- Make sure your main key light casts soft shadows.
Fine-Tuning Render Settings

SFM offers advanced compile controls hidden deep inside the “Export” menu.
Render Settings to Enable
-
Motion Blur
Gives your animations smooth flow and reduces choppiness. -
Ambient Occlusion (AO)
Adds realistic soft shadows around models. -
Depth of Field (DOF)
Helps focus the viewer’s attention. -
Anti-Aliasing (AA)
Removes jagged edges. Set to:-
64 or 128 samples for high quality
-
16 or 32 samples for medium systems
-
FPS Settings
- For cinematic animation: 24 FPS
- For gameplay-style scenes: 30 FPS
- For slow-motion or very smooth animations: 60 FPS
Avoid switching FPS mid-project—SFM may cause frame jumps.
Compiling Through Image Sequence (Recommended)
Directly exporting videos from SFM (AVI) can cause corruption, stutters, or sudden black frames.
Professionals always export using image sequence rendering.
Why Image Sequences Are Better
- No chance of total render failure.
- You can fix or re-render individual frames.
- Produces higher-quality results.
- Easier to color-grade later.
How to Export an Image Sequence
- File → Export → Image Sequence
- Choose the PNG format (keeps quality, transparent background if needed).
- Set your output folder.
- Choose the frame range (default: entire shot).
- Hit Export.
Tip: Keep your project name short to avoid errors.
Fixing Grain, Noise & Shadow Issues
If your compiled frames look noisy, here’s what to adjust:
Increase Anti-Aliasing Samples
Higher AA samples reduce noise especially on edges and shadows.
Check Your Shadow Settings
- Make shadows softer by increasing filter size slightly.
- Increase shadow quality on your main light only.
- Too many shadow-casting lights create noise.
Avoid Overusing Particle Effects
Heavy particles increase compile load and may generate artifacts.
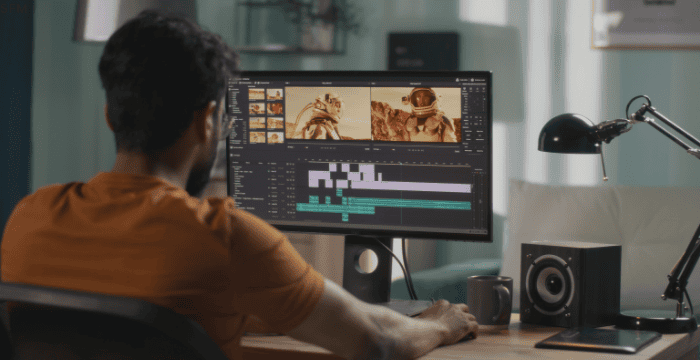
Compiling the Final Video in an Editor
Once SFM outputs image sequences, you need an external editor to assemble them.
Recommended Editors
- Adobe Premiere
- DaVinci Resolve
- Vegas Pro
- HitFilm Express
Importing Your Image Sequence
- Open your editor → Import Media
- Select the first frame only
- The program auto-detects the sequence
- Drop it into your timeline
- Keep sequence FPS same as SFM render
Add Enhancements
- Light color grading (contrast, saturation)
- Smooth transitions
- Speed adjustments
- Subtle sharpening filter
This step gives your SFM animation a true professional look.
Avoiding Common Compile Problems
Black Screen Render
Occurs due to:
- Missing map files
- Corrupted camera
- Render resolution errors
Fix: Reload the map & restart SFM.
Missing Textures
Often caused by workshop items or custom mods.
Fix: Reinstall or re-mount texture files.
Motion Blur Errors
Happen when bones move too fast.
Fix: Reduce animation speed or use ease-in/out transitions.
Frame Stutters
Caused by inconsistent animation curves.
Fix: Select all curves → Right-click → Smooth → Spline.

Best Render Resolutions for SFM
Choose depending on your PC and purpose:
1080p (1920×1080)
- Standard HD
- Best balance of quality and speed
2K (2560×1440)
- Better detail, heavier render
4K (3840×2160)
- Ultra high-quality
- Requires strong hardware
If your PC struggles, render at 1080p and upscale using an editor.
Tips for Achieving Ultra Smooth Animation
Use Graph Editor Wisely
- Clean keyframes
- Avoid sudden spikes
- Apply Spline interpolation
Add Subtle Camera Movement
Tiny handheld motion gives realism.
Use Motion Blur Carefully
Too much blur can hide animation quality.
Keep Models Optimized
High-poly models slow down rendering.
Conclusion
Mastering SFM compile settings is the key to producing smooth, cinematic, and high-quality animation renders. By correctly organizing your scene, using optimal lighting, exporting through image sequences, and assembling in a video editor, you can dramatically improve the visual quality of your work. Whether you’re creating action sequences, fan animations, or short films, these techniques help your SFM projects look polished and professional—without errors or loss of detail.
FAQs
1. What is the best way to export in SFM?
Export through image sequence (PNG) for the highest quality and zero render crashes.
2. Why does my SFM render look grainy?
Low anti-aliasing or too many shadow-casting lights cause noise. Increase AA samples.
3. How do I fix stutter in my animation?
Smooth all keyframes using Spline interpolation in the Graph Editor.
4. What FPS should I use for smooth animations?
Use 24 FPS for cinematic shots, 30 FPS for normal scenes, and 60 FPS for ultra-smooth slow motion.
5. Why is my render coming out black?
This happens due to missing map files, broken camera, or wrong resolution settings. Restart SFM and reload your map.

